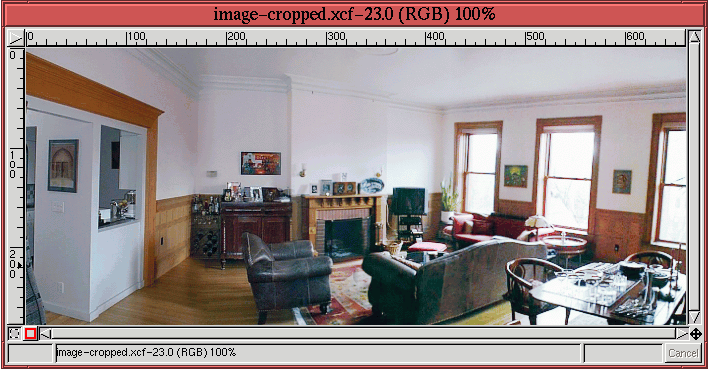
At this point in the creation of the panorama, the image can be
cropped and the various layers merged . Using the Crop tool to retain only the regions
corresponding to a complete rectangular image produces
Figure
7.41.
Figure 7.41:
The Cropped and Layer Merged Panorama
 |
In addition to the crop, the layers are also merged by typing
C-m in either the Layers dialog or the image window.
There is a remaining defect that still seems important in the image:
the molding along the ceiling in what was layer E before the merge.
This piece of molding is not properly aligned with that of what was
layer D. The Clone tool described in
Section
6.3 can be used to repair this defect. You
can repair the molding by cloning the lower edge of the old layer E's
visible molding to the top edge. This makes it vertically align with
the molding in the segment from the old layer D. After the top edge
has been reconstructed in this way, you can eliminate the lower edge
by cloning the unadorned part of the wall just below it and using this
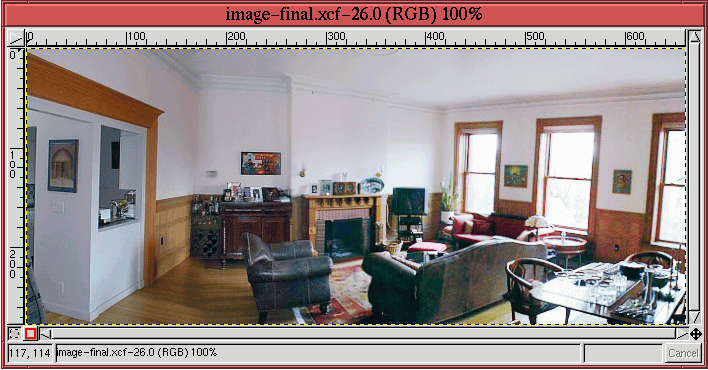
to cover it up. The resulting final panorama is shown in
Figure
7.42,
Figure 7.42:
The Molding Corrected and Final Panorama
 |
ready for an online version of
Better Homes and Gardens
magazine.
©2000 Gimp-Savvy.com
