Now that Samba is offering a workable printer, you need to set it up on a Windows client. Look at the Samba server in the Network Neighborhood. It should now show each of the printers that are available. For example, in
Figure 7.1, we saw a printer called
lp.
Next, you need to have the Windows client recognize the printer. Double-click on the printer icon to get started. If you try to select an uninstalled printer (as you just did), Windows will ask you if it should help configure it for the Windows system. Respond "Yes," which will open the Printer Wizard.
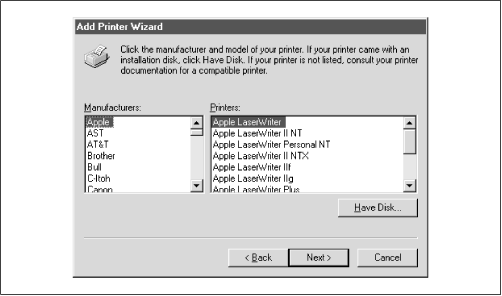
The first thing the wizard will ask is whether you need to print from DOS. Let's assume you don't, so choose No and press the Next button to get to the manufacturer/model window as shown in
Figure 7.2.

In this dialog box, you should see a large list of manufacturers and models for almost every printer imaginable. If you don't see your printer on the list, but you know it's a PostScript printer, select Apple as the manufacturer and Apple LaserWriter as the model. This will give you the most basic Postscript printer setup, and arguably one of the most reliable. If you already have any Postscript printers attached, you will be asked about replacing or reusing the existing driver. Be aware that if you replace it with a new one, you may make your other printers fail. Therefore, we recommend you keep using your existing printer drivers as long as they're working properly.
Following that, the Printer Wizard will ask you to name the printer.
Figure 7.3 shows this example, where the name has defaulted to our second laserwriter. Here, you rename it from Apple Laserwriter (Copy 2) to "ps on Samba server," so you know where to look for the printouts. In reality, you can name the printer anything you want.

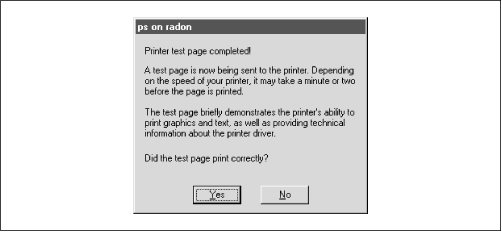
Finally, the Printing Wizard asks if it should print a test page. Click on Yes, and you should be presented with the dialog in
Figure 7.4.

If the test printing was unsuccessful, press the No button in
Figure 7.4 and the Printing Wizard will walk you through some debugging steps for the client side of the process. If the test printing does work, congratulations! The remote printer will now be available to all your PC applications through the File and Print menu items.
