19.3. Connecting to a Samba Share
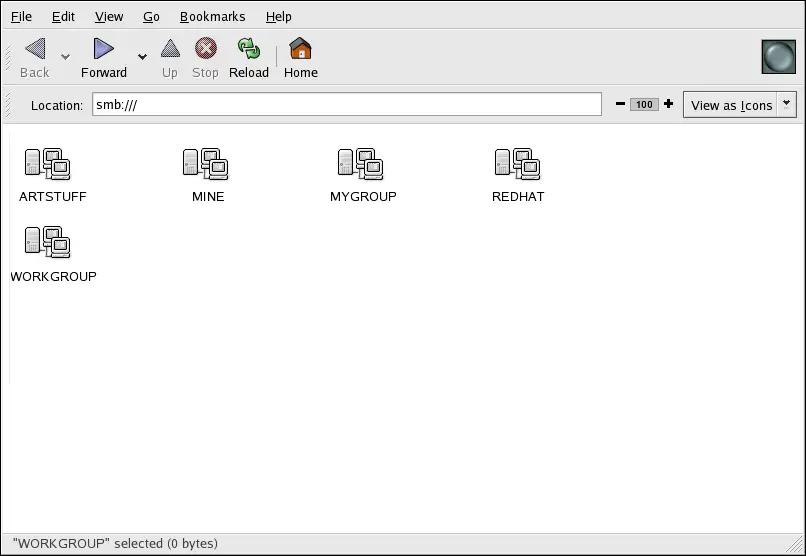
You can use Nautilus to view available Samba shares on your network. Select (on the Panel) => to view a list of Samba workgroups on your network. You can also type smb: in the File => Open Location bar of Nautilus to view the workgroups.
As shown in Figure 19.1, “SMB Workgroups in Nautilus”, an icon appears for each available SMB workgroup on the network.
Double-click one of the workgroup icons to view a list of computers within the workgroup.
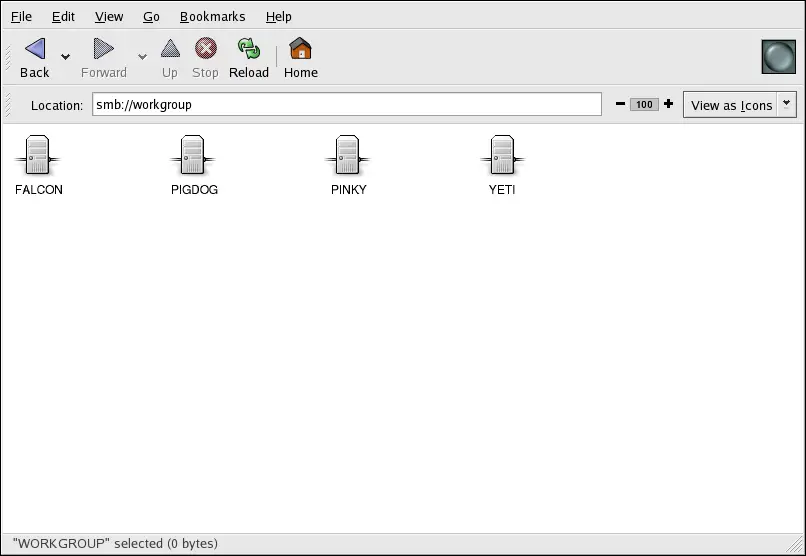
As you can see from Figure 19.2, “SMB Machines in Nautilus”, there is an icon for each machine within the workgroup. Double-click on an icon to view the Samba shares on the machine. If a username and password combination is required, you are
prompted for them.
Alternately, you can also specify the Samba server and sharename in the Location: bar for Nautilus using the following syntax (replace <servername> and <sharename> with the appropriate values):
smb://<servername>/<sharename>
To query the network for Samba servers, use the findsmb command. For each server found, it displays its IP address, NetBIOS name, workgroup name, operating system, and SMB server version.
To connect to a Samba share from a shell prompt, type the following command:
smbclient //<hostname>/<sharename> -U <username>
Replace <hostname> with the hostname or IP address of the Samba server you want to connect to, <sharename> with the name of the shared directory you want to browse, and
<username> with the Samba username for the system. Enter the correct password or press Enter if no password is required for the user.
If you see the
smb:\>
prompt, you have successfully logged in. Once you are logged in, type help for a list of commands. If you wish to browse the contents of your home directory, replace sharename with your
username. If the -U switch is not used, the username of the current user is passed to the Samba server.
To exit smbclient, type exit at the
smb:\>
prompt.
19.3.2. Mounting the Share
Sometimes it is useful to mount a Samba share to a directory so that the files in the directory can be treated as if they are part of the local file system.
To mount a Samba share to a directory, create create a directory to mount it to (if it does not already exist), and execute the following command as root:
mount -t cifs -o <username>,<password> //<servername>/<sharename> /mnt/point/
This command mounts <sharename> from <servername> in the local directory /mnt/point/. For more information about mounting a samba share, refer to man mount.cifs.