Configure form controls
No further configuration is required to the Name and Sex fields (though, of course, there is configuration that could be done if you wanted, such as giving a name to each control and changing the appearance of the controls).
The list box must be configured to add the list of options. The check boxes must be configured to add in the names (instead of Check Box, Check Box1...)
-
Click on the List Box control within the document and then the Control button  on the Form Design toolbar to launch the control properties dialog box. Select the General tab.
-
In the List Entries box, enter the names of the shapes: Circle, Triangle, Square and Pentagon. Type in one shape and press Enter. Then position the cursor at the end of the line to type in the next shape. You should end up with a line saying “Circleâ€;â€Triangleâ€;â€Squareâ€;â€Pentagonâ€.
-
Click on the first Check Box. The Properties dialog box stays open but changes to show the properties for the check box.
-
Change the Label to Circle and press Enter. The label on the check box will change immediately.
-
Click on each of the other three check boxes in turn. Change the Label in the Properties dialog box to Triangle, Square and Pentagon in turn.
-
Close the Properties dialog box.
-
Turn Design Mode off  and close the two Controls toolbars.
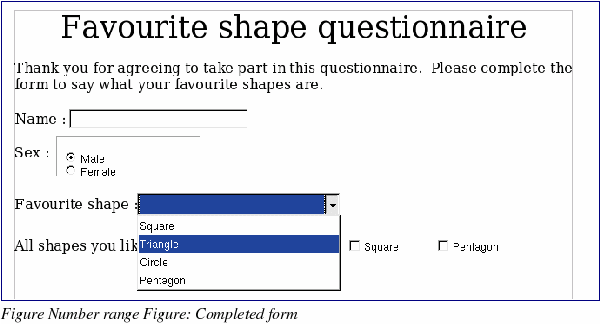
You have now completed the form and your form hopefully looks something like this:

