Press
the Esc
key or click outside the area with the blue resizing handles to
exit.
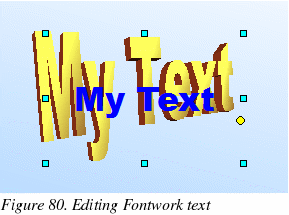
Now
that the Fontwork object is created, you can edit some of its
attributes. To do this, you can use the Fontwork toolbar or other
options as described in the next section.
Using
the Fontwork toolbar
Make
sure that the Fontwork toolbar, shown in Figure 81, is visible on
the workspace. If not, select View
> Toolbars > Fontwork from the main menu bar.

In addition to the
Fontwork Gallery icon, this toolbar contains the following icons:
 Fontwork
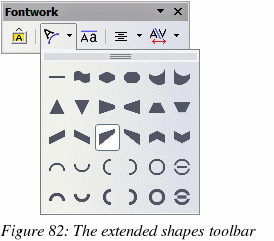
shape: to change the shape of the selected object, choose
a shape from the extended toolbar (Figure 82).
 Fontwork
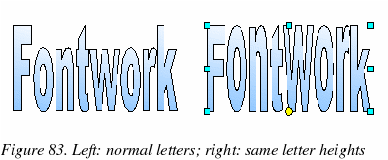
Same Letter Heights: Changes the height of characters in
the object. Toggles between normal height (some characters taller
than others, for example capital letters, d, h, l and others) and
all letters the same height. See Figure 83.
 Fontwork
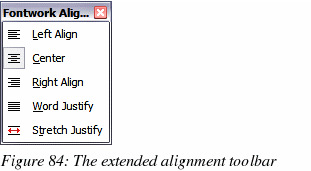
Alignment: specify the alignment of the text within the frame
from the choices available in Figure 84. The effects of the text
alignment can only be appreciated if the text spans over two or more
lines. In the Stretch Justify mode all the lines are filled
completely.
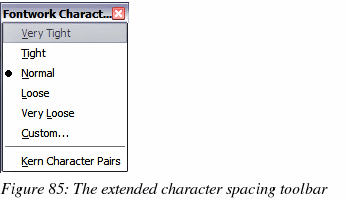
 Fontwork
Character Spacing: select the desired spacing (Figure 85) and
whether kerning pairs should be used. For custom spacing, input a
percentage value: 100% is normal spacing; less than 100% is tight
spacing; more than 100% is expanded spacing.
Modifying
Fontwork text as a shape
It
is possible to treat Fontwork text as a shape and therefore to apply
to it all the formatting that has been described in this chapter.
Assign line properties only to Fontwork which does not have a 3D
effect, otherwise the changes will not be visible.
|
Tip
|
Change
the Fontwork color quickly using the Area fill color swatch on
the Line and Filling toolbar.
|
In
the same way as it is possible to modify the angles of Trapezoids
and Parallelogram basic shape by moving the yellow dot that is
displayed along with the blue resizing handles, it is possible to
modify some of the Fontwork shapes.
