Follow Techotopia on Twitter

On-line Guides
All Guides
eBook Store
iOS / Android
Linux for Beginners
Office Productivity
Linux Installation
Linux Security
Linux Utilities
Linux Virtualization
Linux Kernel
System/Network Admin
Programming
Scripting Languages
Development Tools
Web Development
GUI Toolkits/Desktop
Databases
Mail Systems
openSolaris
Eclipse Documentation
Techotopia.com
Virtuatopia.com
Answertopia.com

How To Guides
Virtualization
General System Admin
Linux Security
Linux Filesystems
Web Servers
Graphics & Desktop
PC Hardware
Windows
Problem Solutions
Privacy Policy


Red Hat Enterprise Linux 9 Essentials Book now available.

Purchase a copy of Red Hat Enterprise Linux 9 (RHEL 9) Essentials

Red Hat Enterprise Linux 9 Essentials Print and eBook (PDF) editions contain 34 chapters and 298 pages

Preview Book

11.2.2. Installing drivers during the Windows installation

This procedure covers installing the para-virtualized drivers during a Windows installation.
This method allows a Windows guest to use the para-virtualized (virtio) drivers for the default storage device.
  1. Install the virtio-win package:
    # yum install virtio-win
    

    Creating guests

    Create the guest, as normal, without starting the guest. Follow one of the procedures below.
  2. Creating the guest with virsh

    This method attaches the para-virtualized driver floppy disk to a Windows guest before the installation.
    If the guest is created from an XML definition file with virsh use the virsh define command not the virsh create command.
    1. Create, but do not start, the guest. Refer to Chapter 30, Managing guests with virsh for details on creating guests with the virsh command.
    2. Add the driver disk as a virtualized floppy disk with the virsh command. This example can be copied and used if there are no other virtualized floppy devices attached to the virtualized guest.
      # virsh attach-disk guest1 /usr/share/virtio-win/virtio-drivers.vfd fda --type floppy
      
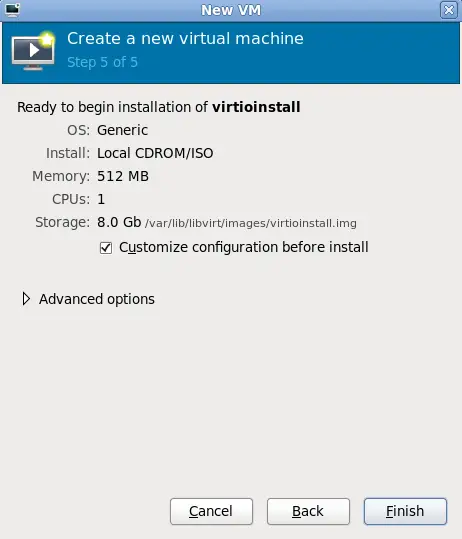
  3. Creating the guest with virt-manager

    1. At the final step of the virt-manager guest creation wizard, check the Customize configuration before install checkbox.
      Press the Finish button to continue.
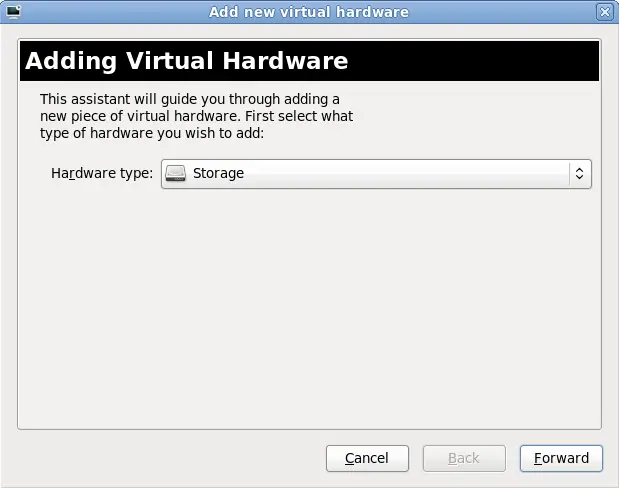
    2. Add the new device

      Select Storage from the Hardware type list. Click Forward to continue.
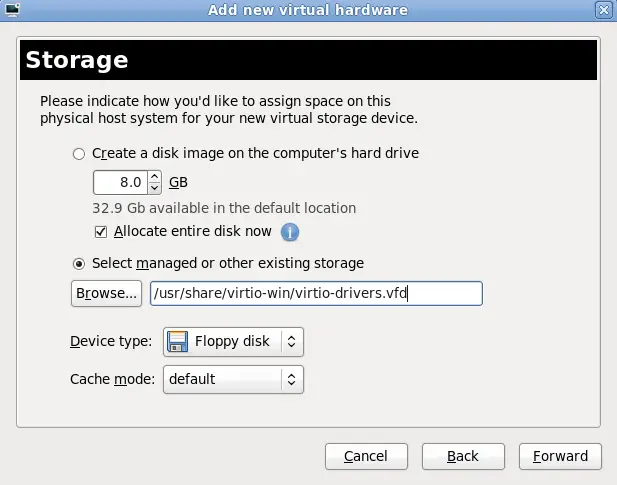
    3. Select the driver disk

      Select Select managed or existing storage.
      Set the location to /usr/share/virtio-win/virtio-drivers.vfd.
      Change Device type to Floppy disk.
      Press the Forward button to continue.
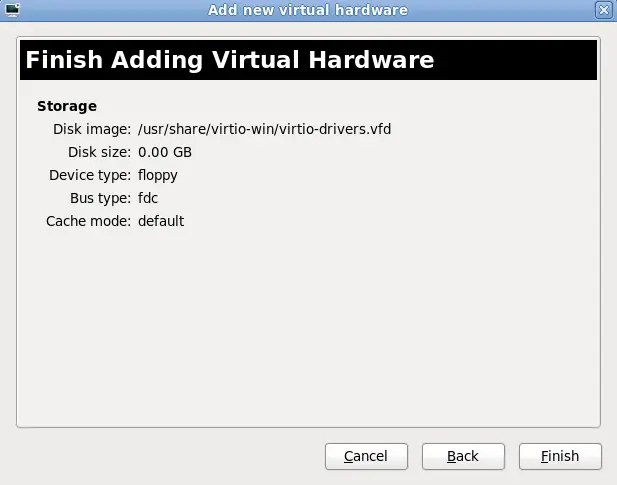
    4. Confirm the new device

      Click the Finish button to confirm the device setup and add the device to the guest.
      Press the green tick button to add the new device.
  4. Creating the guest with virt-install

    Append the following parameter exactly as listed below to add the driver disk to the installation with the virt-install command :
    --disk path=/usr/share/virtio-win/virtio-drivers.vfd,device=floppy
    
  5. During the installation, additional steps are required to install drivers, depending on the type of Windows guest.
    1. Windows Server 2003 and Windows XP

      Before the installation blue screen repeatedly press F6 for third party drivers.
      Press S to install additional
      Press Enter to continue the installation.
    2. Windows Server 2008

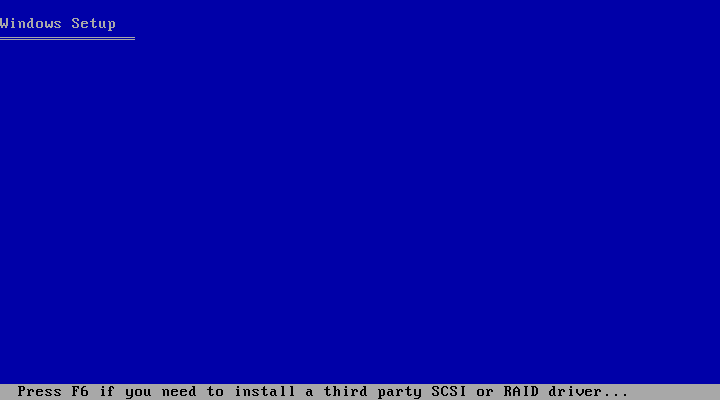
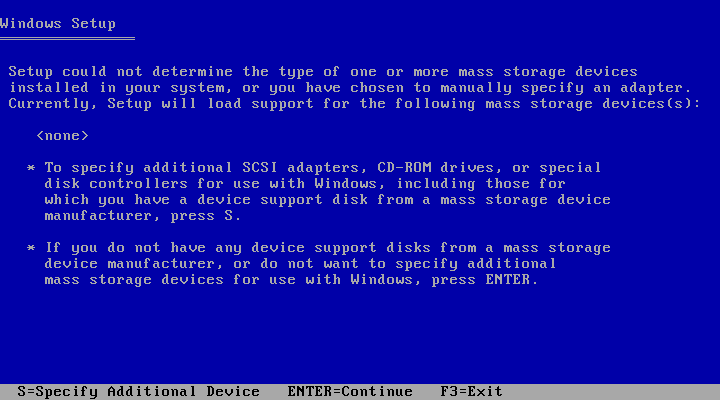
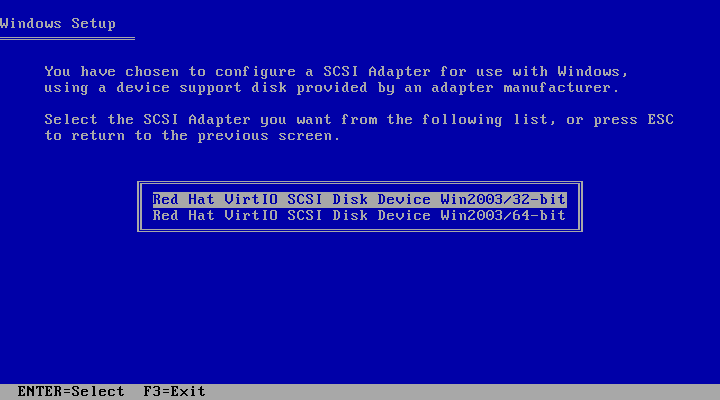
      When the installer prompts you for the driver, click on Load Driver, point the installer to Drive A: and pick the driver that suits your guest operating system and architecture.


  Published under the terms of the Creative Commons License Design by Interspire