Chapter 15. Configuring Language and Installation Source
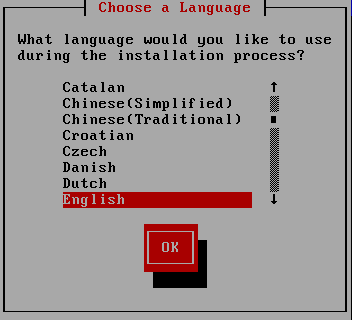
Before the graphical installation program starts, you need to configure the language and installation source.
15.1. The Text Mode Installation Program User Interface
We recommed that you install Red Hat Enterprise Linux using the graphical interface. If you are installing Red Hat Enterprise Linux on a system that lacks a graphical display, consider performing the installation over a VNC connection – see
Chapter 31, Installing Through VNC. If
anaconda detects that you are installing in text mode on a system where installation over a VNC connection might be possible,
anaconda asks you to verify your decision to install in text mode even though your options during installation are limited.
If your system has a graphical display, but graphical installation fails, try booting with the
xdriver=vesa option – refer to
Chapter 28, Boot Options
The widgets include:
-
Window — Windows (usually referred to as dialogs in this manual) appear on your screen throughout the installation process. At times, one window may overlay another; in these cases, you can only interact with the window on top. When you are finished in that window, it disappears, allowing you to continue working in the window underneath.
-
Checkbox — Checkboxes allow you to select or deselect a feature. The box displays either an asterisk (selected) or a space (unselected). When the cursor is within a checkbox, press Space to select or deselect a feature.
-
Text Input — Text input lines are regions where you can enter information required by the installation program. When the cursor rests on a text input line, you may enter and/or edit information on that line.
-
Text Widget — Text widgets are regions of the screen for the display of text. At times, text widgets may also contain other widgets, such as checkboxes. If a text widget contains more information than can be displayed in the space reserved for it, a scroll bar appears; if you position the cursor within the text widget, you can then use the Up and Down arrow keys to scroll through all the information available. Your current position is shown on the scroll bar by a # character, which moves up and down the scroll bar as you scroll.
-
Scroll Bar — Scroll bars appear on the side or bottom of a window to control which part of a list or document is currently in the window's frame. The scroll bar makes it easy to move to any part of a file.
-
Button Widget — Button widgets are the primary method of interacting with the installation program. You progress through the windows of the installation program by navigating these buttons, using the Tab and Enter keys. Buttons can be selected when they are highlighted.
-
15.1.1. Using the Keyboard to Navigate
Navigation through the installation dialogs is performed through a simple set of keystrokes. To move the cursor, use the Left, Right, Up, and Down arrow keys. Use Tab, and Shift-Tab to cycle forward or backward through each widget on the screen. Along the bottom, most screens display a summary of available cursor positioning keys.
To "press" a button, position the cursor over the button (using Tab, for example) and press Space or Enter. To select an item from a list of items, move the cursor to the item you wish to select and press Enter. To select an item with a checkbox, move the cursor to the checkbox and press Space to select an item. To deselect, press Space a second time.
Pressing F12 accepts the current values and proceeds to the next dialog; it is equivalent to pressing the OK button.
Unless a dialog box is waiting for your input, do not press any keys during the installation process (doing so may result in unpredictable behavior).