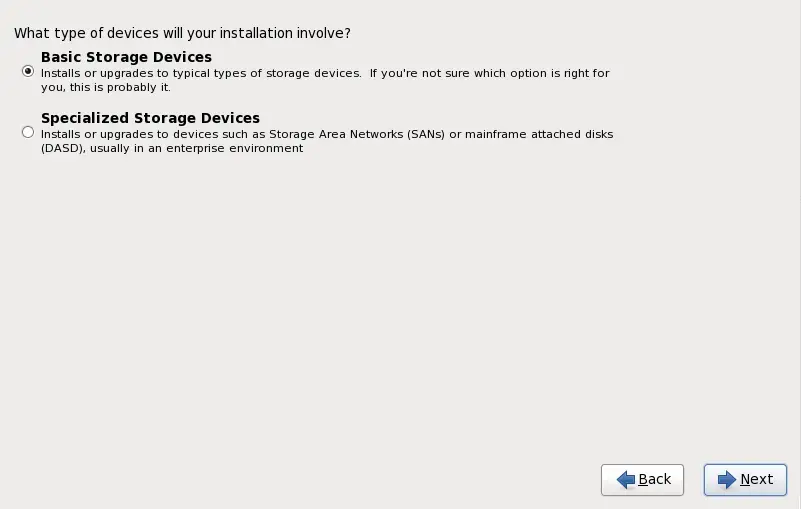
You can install Red Hat Enterprise Linux on a large variety of storage devices. This screen allows you to select either basic or specialized storage devices.
16.6.1. The Storage Devices Selection Screen
The storage devices selection screen displays all storage devices to which anaconda has access.
Devices are grouped under the following tabs:
- Basic Devices
-
Basic storage devices directly connected to the local system, such as hard disk drives and solid-state drives.
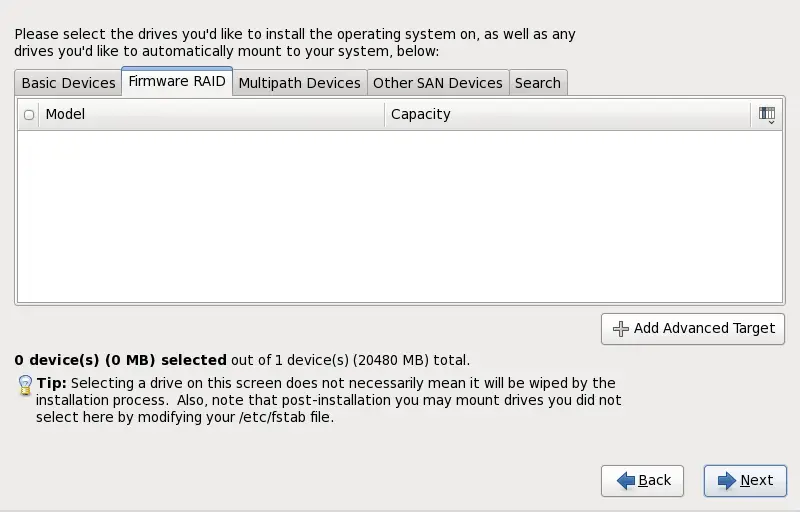
- Firmware RAID
-
Storage devices attached to a firmware RAID controller.
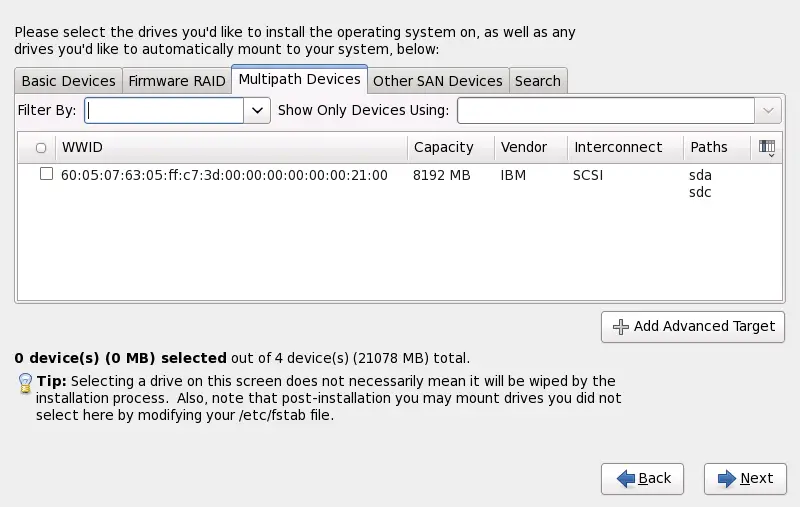
- Multipath Devices
-
Storage devices accessible through more than one path, such as through multiple SCSI controllers or Fiber Channel ports on the same system.
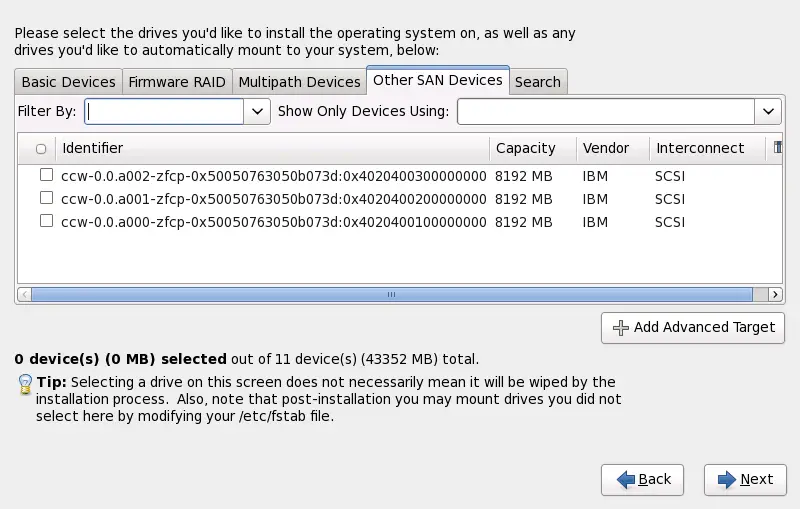
- Other SAN Devices
-
Any other devices available on a storage area network (SAN).
The storage devices selection screen also contains a Search tab that allows you to filter storage devices either by their World Wide Identifier (WWID) or by the port, target, or logical unit number (LUN) at which they are accessed.
The tab contains a drop-down menu to select searching by port, target, WWID, or LUN (with corresponding text boxes for these values). Searching by WWID or LUN requires additional values in the corresponding text box.
Each tab presents a list of devices detected by anaconda, with information about the device to help you to identify it. A small drop-down menu marked with an icon is located to the right of the column headings. This menu allows you to select the types of data presented on each device. For example, the menu on the Multipath Devices tab allows you to specify any of , , , , and to include among the details presented for each device. Reducing or expanding the amount of information presented might help you to identify particular devices.
Each device is presented on a separate row, with a checkbox to its left. Click the checkbox to make a device available during the installation process, or click the radio button at the left of the column headings to select or deselect all the devices listed in a particular screen. Later in the installation process, you can choose to install Red Hat Enterprise Linux onto any of the devices selected here, and can choose to automatically mount any of the other devices selected here as part of the installed system.
Note that the devices that you select here are not automatically erased by the installation process. Selecting a device on this screen does not, in itself, place data stored on the device at risk. Note also that any devices that you do not select here to form part of the installed system can be added to the system after installation by modifying the /etc/fstab file.
Any storage devices that you do not select on this screen are hidden from anaconda entirely. To chain load the Red Hat Enterprise Linux boot loader from a different boot loader, select all the devices presented in this screen.
16.6.1.1. Advanced Storage Options
From this screen you can configure an
iSCSI (SCSI over TCP/IP) target or
FCoE (Fibre channel over ethernet)
SAN (storage area network). Refer to
Appendix B, ISCSI disks for an introduction to iSCSI.
16.6.1.1.1. Enable Network Interfaces
Use this dialog to configure the network interfaces through which the system will connect to networked storage devices.
If your network does not have DHCP enabled, or if you need to override the DHCP settings, select the network interface that you plan to use from the Interfaces menu. Clear the checkbox for Use dynamic IP configuration (DHCP). You can now enter an IPv4 address and netmask for this system in the form address / netmask, along with the gateway address and nameserver address for your network.
Click OK to accept these settings and continue.
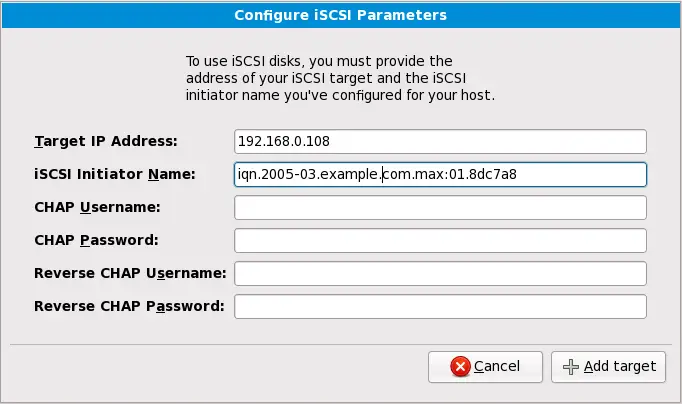
16.6.1.1.2. Configure iSCSI Parameters
To configure an ISCSI target invoke the 'Configure ISCSI Parameters' dialog by selecting 'Add ISCSI target' and clicking on the 'Add Drive' button. Fill in the details for the ISCSI target IP and provide a unique ISCSI initiator name to identify this system. If the ISCSI target uses CHAP (Challenge Handshake Authentication Protocol) for authentication, enter the CHAP username and password. If your enviroment uses 2-way CHAP (also called "Mutual CHAP"), also enter the reverse CHAP username and password. Click the 'Add target' button to attempt connection to the ISCSI target using this information.
Note that you will be able to reattempt with a different ISCSI target IP should you enter it incorrectly, but to change the ISCSI initiator name you will need to restart the installation.
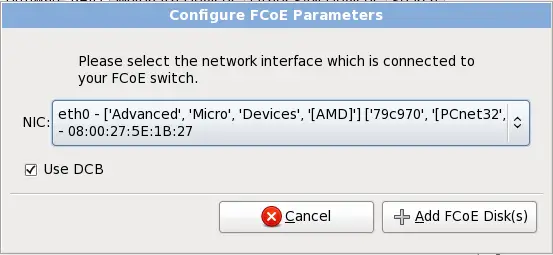
16.6.1.1.3. Configure FCoE Parameters
To configure an FCoE SAN, select Add FCoE SAN and click Add Drive.
On the menu that appears in the next dialog box, select the network interface that is connected to your FCoE switch and click Add FCoE Disk(s).
Data Center Bridging (DCB) is a set of enhancements to the Ethernet protocols designed to increase the efficiency of Ethernet connections in storage networks and clusters. Enable or disable the installer's awareness of DCB with the checkbox in this dialog.