After a system analysis where YaST probes for storage devices and tries
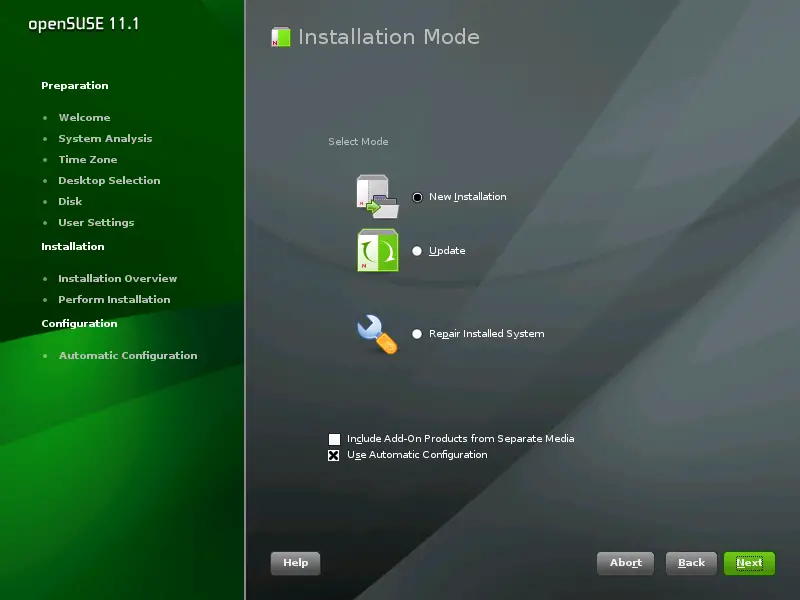
to find other installed systems on your machine, the installation modes
available are displayed. This step is skipped when installing from a
LiveCD, since this medium only supports a new installation with automatic
configuration.
By default, the is used when
performing a new installation. In this mode the system automatically
configures your hardware and the network, so the installation is
performed with minimal user interaction. If necessary, you can change
every configuration that is set up later in the installed system using
YaST. In repair mode the automatic configuration attempts to fix errors
automatically. Uncheck if
you prefer a manual configuration during the installation or to start the
system reparation in expert mode.
This screen also offers to include add-on products during the
installation. To include such products, check . An add-on product can include
extensions, third-party products or additional software for your
system such as support for additional
languages.
1.7.1 Add-On Products
Add-on products can be installed either from a local source (CD, DVD, or
directory) or from a network source (HTTP, FTP, NFS, CIFS,...). When
installing from a network source, you need to configure the network
first—unless you are performing a network installation anyway.
Choose and proceed as
described in Network Setup. If the
add-on product is available locally, select .
Click and specify the product source. Source
types available are , ,
, , a
or a , if no network was configured. If the add-on product is
available on removable media, the system automatically mounts the media
and reads it's contents. If the add-on product is available on hard
disk, choose to install from an unmounted
hard drive, or / if it is located in the file system. Add-on products may
be delivered as a repository or as a set of rpm files. In the latter
case, check . While a network is
available, you can chooses from additional remote sources such as HTTP,
SLP, FTP and others. It is also possible to specify a URL directly.
Check to
download the files describing the repository now. If unchecked, they
will be downloaded once the installation starts. Proceed with
and insert a CD or DVD if required. Depending on
the product's content it may be necessary to accept additional license
agreements.
It is also possible to configure add-on products at any time in the
installed systems. Using add-on products in the installed system is
described in Section 6.0, Installing Add-On Products,
(↑ Reference ).
Network Setup
When invoking the network setup, YaST scans for available network
cards. If more than one network card is found, you have to choose the
card to configure from the list.
If an ethernet network adapter is not already connected, a warning will
open. Make sure the network cable is plugged in and choose
. In the following dialog the actual
network configuration is done. If your network is equipped with a DHCP
server, choose .
To manually set up the network choose and specify ,
, , and
the .
Some networks require the use of a proxy server to access the Internet.
Tick the check box and enter the appropriate specifications. Click
to perform the network setup. The
installation procedure will continue with the add-on products or
repositories setup as described in
Section 1.7.1, Add-On Products.