Gradients
A gradient fill provides a smooth transition from one color to another. The transition pattern may vary from a simple linear transition to a more complex radial transition.
If the predefined gradients are not satisfactory, you can create a new gradient or modify an existing one.
Select Gradient in the drop‑down list on the Area page and pick the gradient from the list. To manually input the number of steps (increments) that should be applied, deselect the Automatic checkbox and enter the number of steps required.
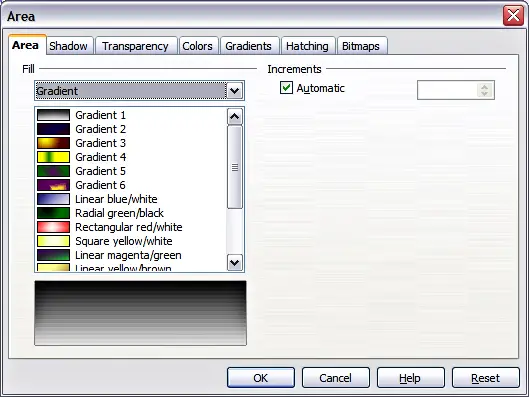
Selecting a gradient fill.
Creating gradients
To create a new gradient or to modify an existing one, select the Gradients page from the Area dialog. Several types of gradients are predefined and in most cases changing the From and To colors will be sufficient to obtain the desired result.
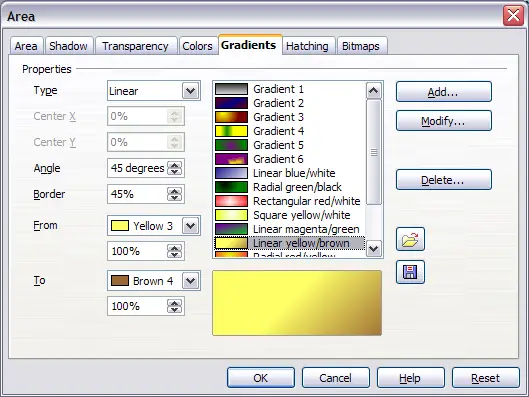
The Gradients page of the Area dialog.
It is highly recommended to create a new gradient even if you just want to change the two colors rather than modifying the predefined ones which should only be used as starting points.
To create a new gradient:
- First choose the From and To colors.
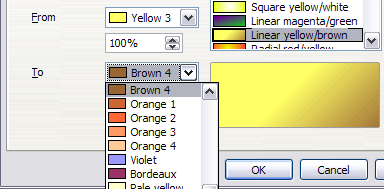
Gradient transition color selection.
- Then choose a type of gradient from the list: Linear, Axial, Radial, Ellipsoid, Square or Rectangular. A preview of the gradient type is shown under the available gradients list in the middle of the dialog. The figure below shows an example.
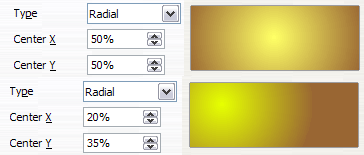
Center option in a radial gradient.
- Depending on the chosen type some options will be grayed out. Set all the properties as desired (very often the default values will work well). The properties to set to create a gradient are summarized in Table 1.
- Click the Add button to add the newly created gradient to the list. The gradient is now available to all the OOo components and also for future presentations. It pays to give it a memorable name.
Table 1: Gradient properties
| Property
| Meaning
|
| Center X
| For Radial, Ellipsoid, Square and Rectangular gradients, modify these values to set the horizontal offset of the gradient center.
|
| Center Y
| For Radial, Ellipsoid, Square and Rectangular gradients, modify these values to set the vertical offset of the gradient center.
|
| Angle
| Specifies for all the gradient types the angle of the gradient axis
|
| Border
| Increase this value to make the gradient start further away from the border of the shape
|
| From
| Set here the start color for the gradient. In the edit box below enter the intensity of the color: 0% corresponds to black, 100% to the full color.
|
| To
| Set here the end color for the gradient. In the edit box below enter the intensity of the color: 0% corresponds to black, 100% to the full color.
|


