For displaying tabular data, you can insert basic tables directly into your slides in a number of ways:
- Use the Insert > Table menu option.
- With the Table button on the main toolbar
 .
.
- With the Table Design button on the table toolbar.
- By selecting a Style option from the Table Design section of the Tasks pane.
Each method opens the Insert Table dialog, shown below. Alternatively, clicking on the black arrow next to the Table button displays a graphic that you can drag and select the number of rows and columns for your table.
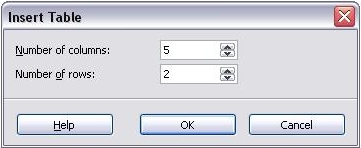
Creating a table with the Insert Table dialog.
 | Selecting from any of the styles in the Table Design section of the Tasks pane creates a table based on that style. If you create a table by another method, you can still apply a style of your choice later.
|
With the table selected, the Table toolbar should appear. If it does not, you can access it by selecting View > Toolbars > Table. The Table toolbar offers many of the same buttons as the table toolbar in Writer, with the exception of functions like Sort and Sum for performing calculations. For those functions, you need to use a spreadsheet inserted from Calc (discussed in
Adding graphics, spreadsheets, charts, and other objects).
After the table is created, you can modify it in much the same ways as you would modify a table in Writer: adding and deleting rows and columns, adjusting width and spacing, adding borders, background colors and so on. Detailed information on working with tables and the Table Properties dialog can be found in Chapter 9 of the Writer Guide.
By modifying the style of the table from the Table Design section of the Tasks pane, you can quickly change the appearance of the table or any newly created tables based on the Style options you select. You can choose to add emphasis to a header and total row as well as the first and last columns of the table, and apply a banded appearance to the rows and columns.
Having completed the table design, entering data into the cells is similar to working with text box objects. Click in the cell you wish to add data to, and begin typing. To move around cells quickly, use the following key options:
- The arrow keys move the cursor to the next table cell if the cell is empty, otherwise they move the cursor to the next character in the cell.
- The Tab key moves to the next cell, skipping over the contents of the cell; Shift+Tab move backwards in this manner.


