Follow Techotopia on Twitter

On-line Guides
All Guides
eBook Store
iOS / Android
Linux for Beginners
Office Productivity
Linux Installation
Linux Security
Linux Utilities
Linux Virtualization
Linux Kernel
System/Network Admin
Programming
Scripting Languages
Development Tools
Web Development
GUI Toolkits/Desktop
Databases
Mail Systems
openSolaris
Eclipse Documentation
Techotopia.com
Virtuatopia.com
Answertopia.com

How To Guides
Virtualization
General System Admin
Linux Security
Linux Filesystems
Web Servers
Graphics & Desktop
PC Hardware
Windows
Problem Solutions
Privacy Policy


8.2.  Apply Lens

Revision History
Revision $Revision: 1.16 $ 2006-11-28 j.h

8.2.1.  Overview

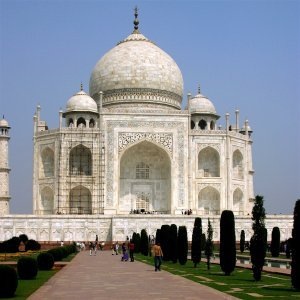
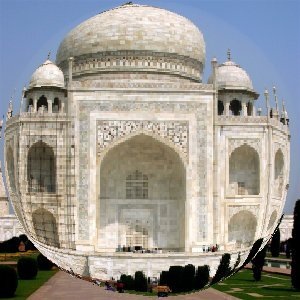
Figure 11.107.  The same image, before and after applying lens effect.

The same image, before and after applying lens effect.

You can find this filter through Filters->Glass effects->Apply Lens

After applying this filter, a part of the image is rendered as through a spherical lens.
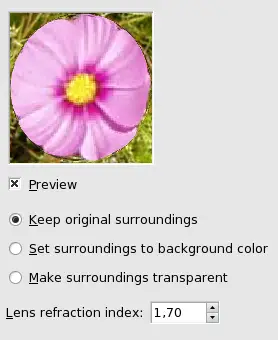
8.2.2.  Options

Figure 11.108.  Apply Lens” filter options

Apply Lens filter options
Preview

Parameter setting results are interactively displayed in preview. Scroll bars allow you to move around the image.

Parameter settings

  • Keep original surrounding: The lens seems to be put on the image.

  • Set surroundings to Background color: The part of the image outside the lens will have the Background color selected in Toolbox.

  • Make Surroundings Transparent: The part of the image outside the lens will be transparent.

  • Lens Refraction Index: Lens will be more or less convergent (1-100).


  Published under the terms of the GNU General Public License Design by Interspire