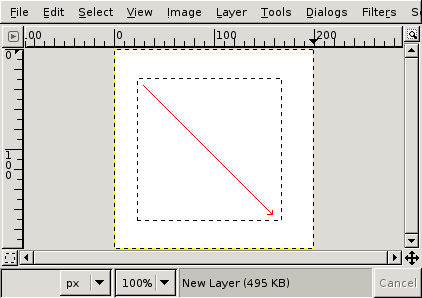
Figure 5.8.
The screenshot shows how a rectangular selection is
created. Press and hold the left mouse button while you
move the mouse in the direction of the red arrow.
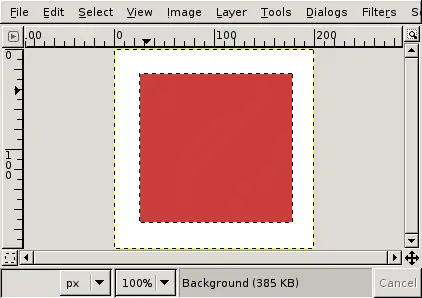
Figure 5.9.
The screenshot shows a rectangular selection filled with the
foreground color.
After creating the selection, you can either create a filled
or an outlined shape with the foreground color of your choice.
If you go for the first option, choose a foreground color and
fill the selection with the bucket fill tool.
If you choose the latter option, create an outline by using
theStroke
selection menu item from the Edit
menu. If you're satisfied with the result, remove the selection.
Published under the terms of the GNU General Public License