The first time you run GIMP, it goes through a series of steps to set up
options and directories. This process creates a subdirectory of your home
directory called .gimp-2.2.
All of the information about the choices you make here goes into that
directory. If you later remove that directory, or rename it as something
like .gimp-2.2.bak,
then the next time you start GIMP, it will go through the whole setup
sequence again, creating a new
.gimp-2.2
directory. You can exploit this if you want to explore the effect of
different choices without destroying your existing installation, or if you
have screwed things up so badly that your existing installation needs to
be nuked.
For the most part, setting up GIMP is very easy, and you can just
accept the defaults at each step, and possibly adjust things later
using the Preferences dialog. The
main thing you might want to give a little thought to at the start
is the amount of memory to allocate for GIMP's tile cache.
Here is a walk-through of the setup process:
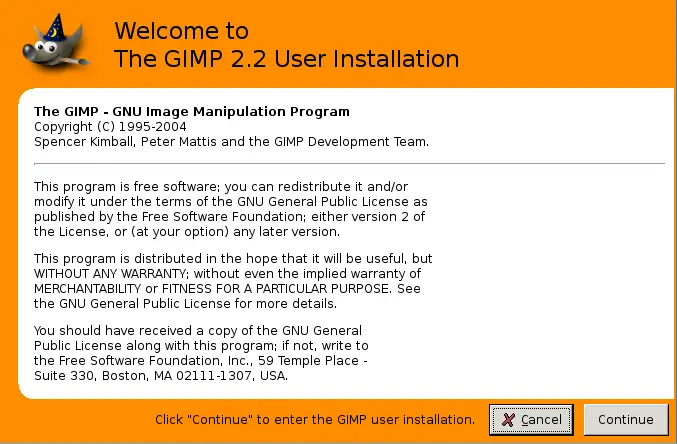
Since this window mentions the GNU General Public License you
know it is truly a Welcome dialog you are entering into. Also,
note the “Continue” button. The GIMP does not even ask
that you agree to it, merely whether you want to continue. Feel free
to press the continue button.
Figure 1.1.
Welcome
The Welcome screen
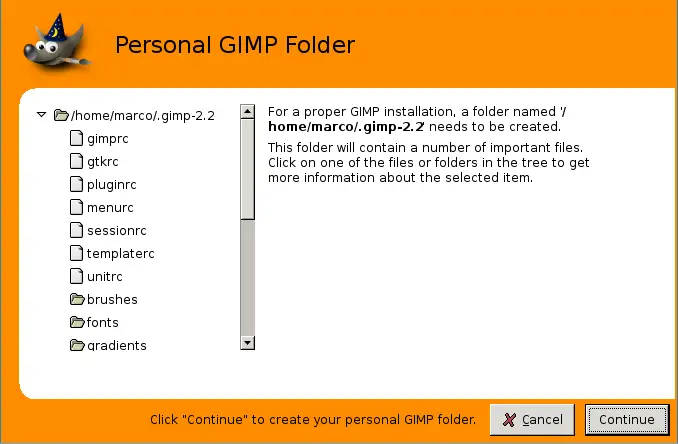
The purpose of this screen is only to make the user aware of
the GIMP personal settings directory, subdirectories and files
creation process, before it begins. You just have to have a
look and click to proceed.
Figure 1.2.
Personal GIMP Directory
The Personal Directory screen
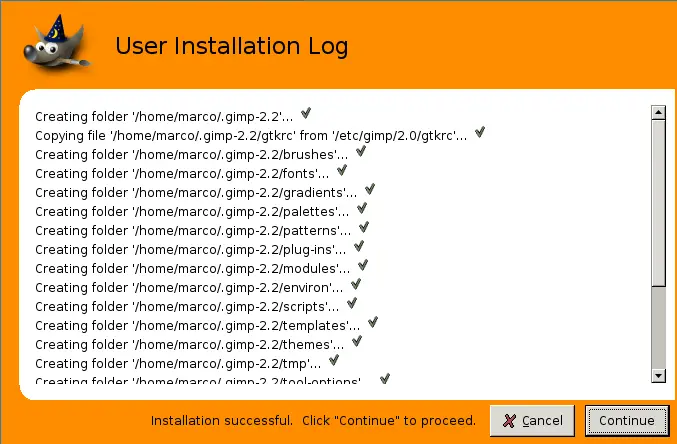
This window shows you the files that GIMP will create. It will
have some complaints if you told it to install some place that
it don't have permission to be. There is a scroll bar to see
all the things GIMP has created for you.
Figure 1.3.
User Installation Log
The User Installation Log screen.
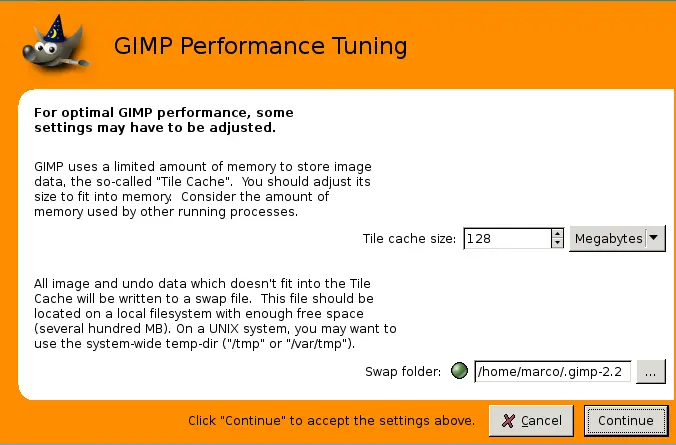
Setting your memory usage is not an easy thing. So much depends on
what your needs are for the GIMP and what hardware you have to work
with. You have two options at this point. Go with the default value
the developers have set here, or determine the best value. A brief
tile-cache
explanation. might help you determine this value. The tile-cache
information might also be helpful to you if you are encountering
memory problems when using the GIMP.
On a Unix system, /tmp
might be a good place for the swap.
Figure 1.4.
GIMP Performance Tuning
The User Performance Tuning screen
Finally . . .
So now you have GIMP installed and configured, and are ready to
go. Just a couple of suggestions before you start, though:
First, when you run GIMP, by default it shows a "tip" each time it
starts up. These tips tell you things that are very useful but
not easy to learn by experimenting, so they are worth paying
attention to. If you find it too distracting to look at them
each time you start, you can disable
them; but please go through them when you have the chance: for
your convenience, you can read them at any time using the menu
command
Help->Tips. Second,
if at some point you are trying to do something, and GIMP seems to
have suddenly stopped functioning, the section Getting Unstuck may
help you out. Happy Gimping!
Published under the terms of the GNU General Public License