 |
||
|
|
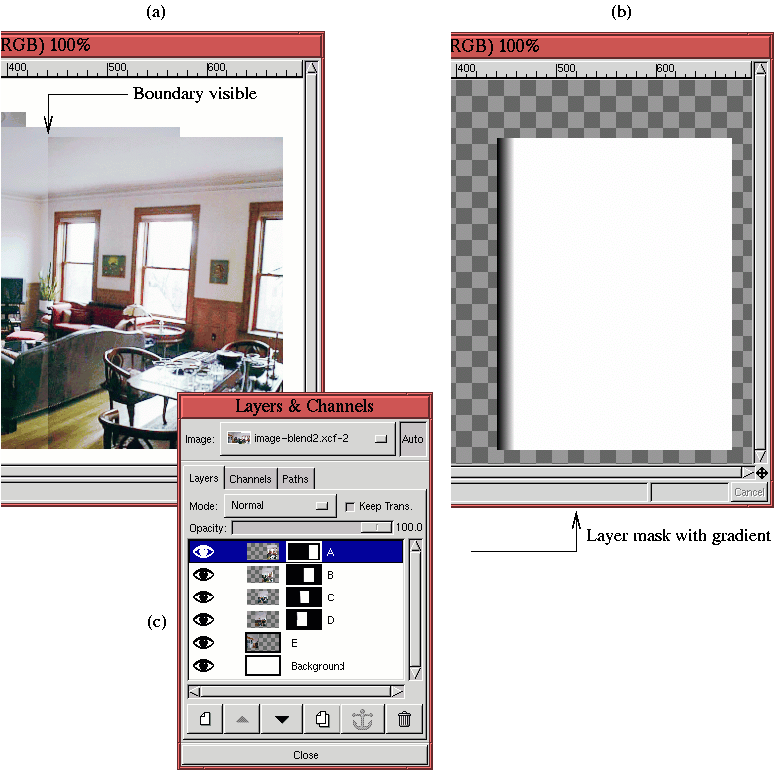
shows the remaining color mismatch at the edge between layers A and B. Figure 7.38(b) shows a layer mask created for layer A. This mask is a black to white gradient where the black point is placed at the left edge of the mask and the white point slightly to the right of this. This layer mask has the effect of making the left side of layer A's boundary semi-transparent, letting layer B show through. The end result is the two layers are blended in this small band removing the visibility of the boundary. Figure 7.38(c) illustrates the Layers dialog showing that four of the five layers have had layer masks added. This makes one layer mask for each boundary.
Figure
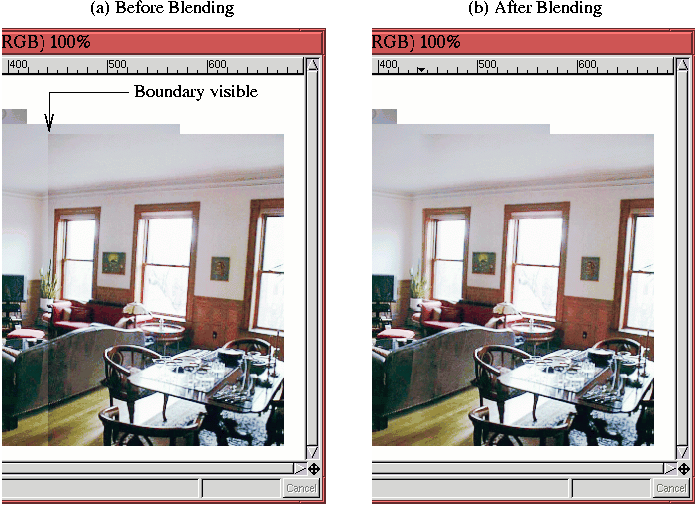
7.39(a)
shows, again, the boundary between layers A and B before blending. Figure 7.39(b) shows the result after blending. As you can see, the technique is very effective. However, some experimentation was necessary to find the correct width for the gradient blend. Although the gradient blending trick works well in most cases, there are times when it is not appropriate for the entire boundary between two layers. In this case, parts of the boundary can be targeted for a blending gradient by using the Rectangle Select tool. This is necessary, for example, for the blend of layers D and E. Here, separate selections are made at layer D's left edge for the regions corresponding to the hardwood floor, the wainscoting, and upper wall areas. Separate gradient blends are produced for each one.
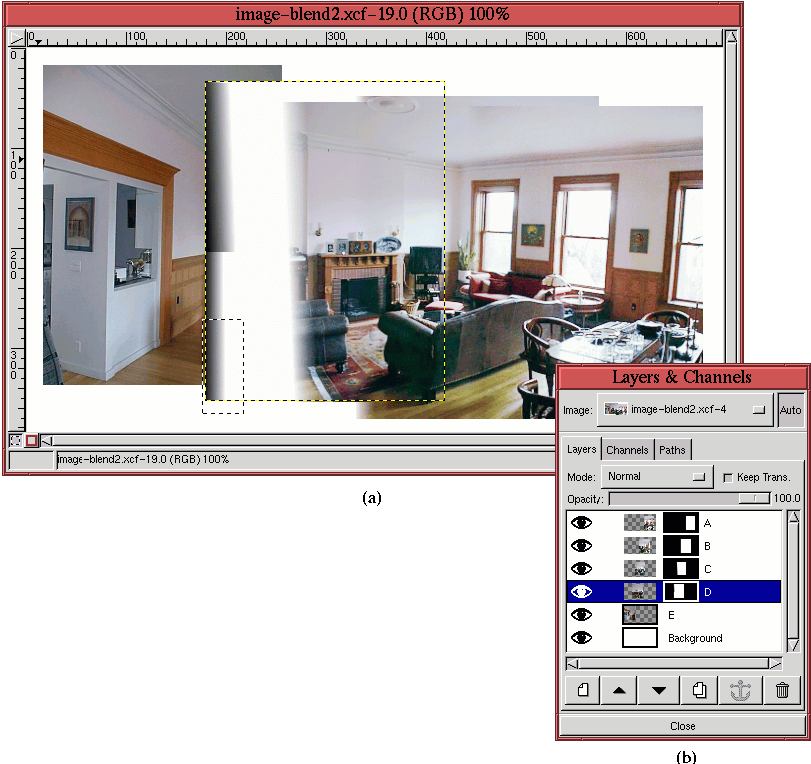
The layer mask produced by these separate gradients is shown in
Figure
7.40(a).
Figure 7.40(b) shows the associated Layers dialog.
|
|
||||||||||||||||||||||


| Published under the terms of the Open Publication License | Design by Interspire |