-
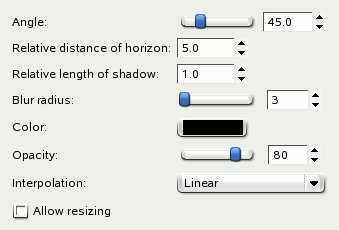
Angle
-
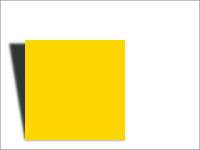
The angle determines the direction of the shadow or the imaginary
source of light, respectively. Values range from 0° to 180°,
where 90° represents a light source just in front of the selection
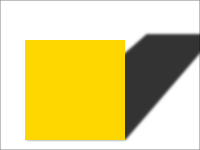
or layer. For angles less than 90°, the shadow is at the right
side, so the light source is on the left. For angles greater than
90°, it's the other way round. Tip: think of the slider's handle
as source of light.
-
Relative distance of horizon
-
This option determines how far away the imaginary horizon is. The
relative distance is the distance from the
ground-line of the selection or layer, the “unit” of
measurement is the height of the selection or layer.
Value range is from 0.1 to 24.1, where 24.1 means (nearly)
“infinite”. Note that the relative length
of shadow must not exceed the distance of horizon.
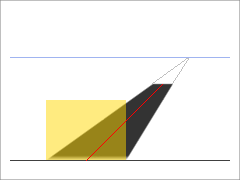
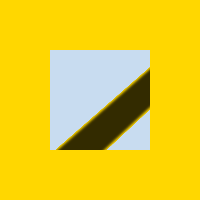
In the example above, the yellow area is the selection the filter
is applied to. The blue line at the top represents the imaginary
horizon. The angle between the selection's ground-line and the red
line is 45°. The length of the red line is 1.8 times the height of
the yellow selection. Extended to the horizon, the length is 2.4
times the selection's height.
-
Relative length of shadow
-
With this option you can set the length of shadow with respect to
the height of the selection or layer. In the above example, the
red line represents the length of shadow, its length is 1.8
relative to the height of the yellow selection.
Value range is from 0.1 to 24.1, although the length of shadow
must not exceed the relative distance of
horizon - you can't go beyond the horizon.
-
Blur radius
-
After creating the shadow, a Gaussian blur with the specified
radius is applied to the shadow layer, resulting in the realistic
appearance of the shadow.
-
Color
-
Of course, the default color of the shadow is black. But a click
on the button opens the the color selector, where you may select
any other color.
-
Opacity
-
The shadow's opacity is the opacity of the new layer containing
the shadow (see Section 1.1, “Layer Properties”). It
defaults to 80%, but you may select any other value from 0 (full
transparency) to 100 (full opacity) here. After applying the
filter to an image you can change the opacity in the layers dialog.
-
Interpolation
-
This drop-down list lets you choose the method of interpolation used when
the shadow layer is transformed, for example rotated by the
specified angle. Using None will usually
result in aliasing, using any interpolation method may change the
color of the shadow in some areas. Linear is
a good choice.
-
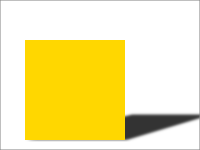
Allow resizing
-
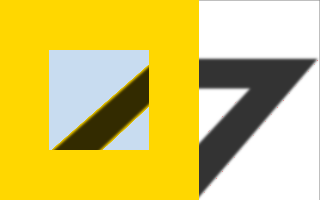
If enabled, the filter will resize the image if that is needed to
make place for the shadow.
In the example below, the yellow area is the active selection,
background is light blue. The white area has been added after
resizing to make the shadow visible.