|
 |
|
| |
Sharing a project
Now that a project has been created and a repository
location has been specified, the project can be made available to other
team members.
-
In one of the navigation views select the project
JanesTeamProject.
-
From the project's context menu choose Team
> Share Project. If more than one repository provider is
installed, select CVS and select Next.
-
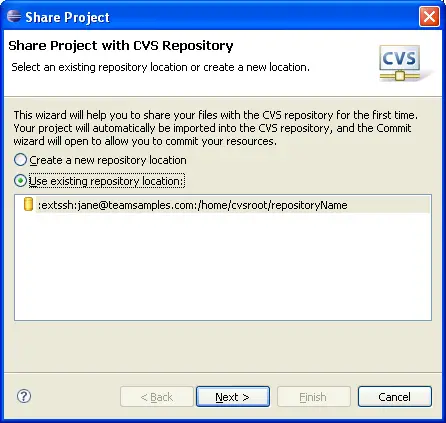
In the sharing wizard page, select the location
that was previously created.
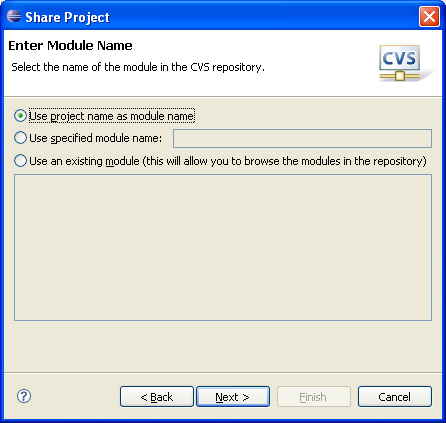
- The next page will ask you the module name to create on the
server. Simply use the default value and use the name of the project
you are sharing. Click Next.
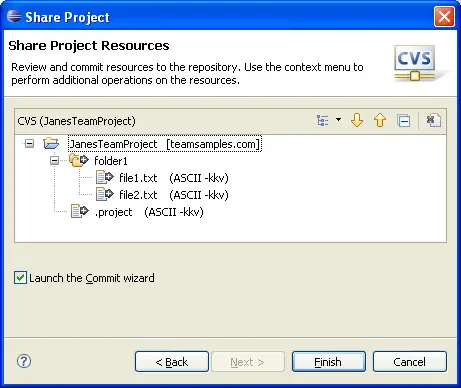
- The next page will allow you to see the files that are going to
be shared with your team. The arrows with the plus sign show that the
files are new outgoing additions. They have never existed on the server
yet.
- Press Finish and you will be prompted
to commit the files. Enter a commit comment to describe the commit you are
making. You can enter anything you like. Press Finish when
you are done and the files will be committed.
- Now you have shared the project and all the files have been
committed to the CVS repository. Others can now see your files!
|
|
|