Using the File menu
You can create new resources by using the File > New menu on the Workbench menu bar.
Start by creating a simple project as follows:
-
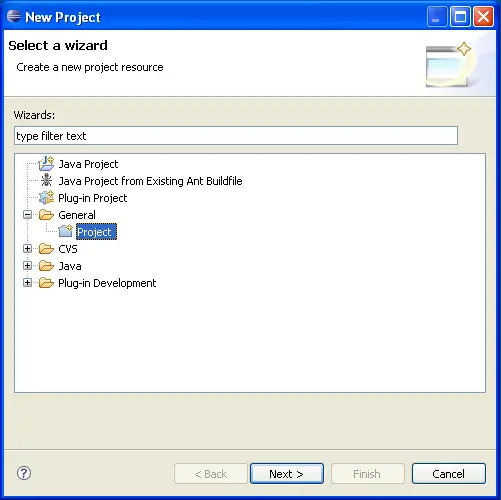
From the menu bar, select File > New > Project...
-
In the New Project wizard, select General >
Project then click Next.
-
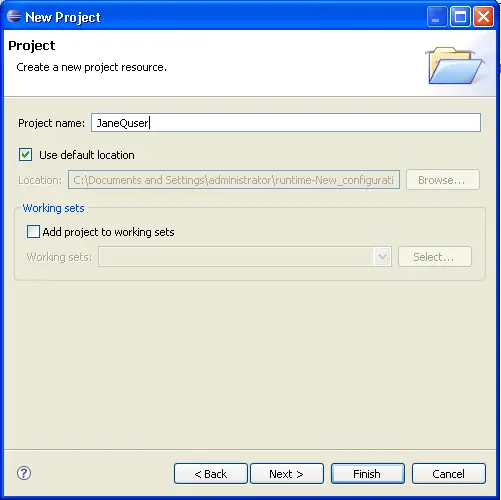
In the Project name field, type your name as the
name of your new project. Do not use spaces or special characters in the
project name (for example, "JaneQuser").
-
Leave the box checked to use the default location for your new project. Click
Finish when you are done.
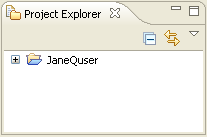
If you sneak a peek at the navigation view, you will see that it now contains
the simple project we just created.
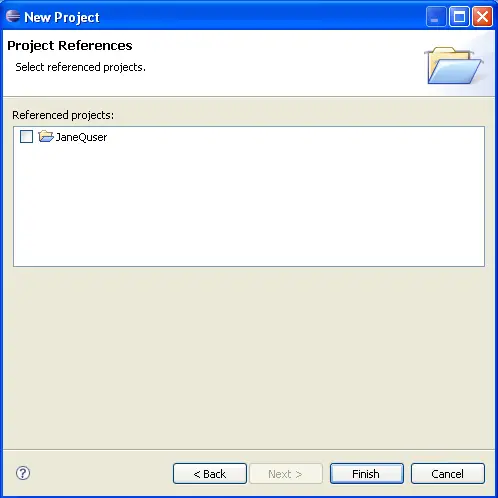
Create a second project called JaneQuser2 using the same steps, but instead
of clicking Finish, click Next. At this point you can specify
other projects that project JaneQuser2 depends on. Since we want to create two
independent projects we will not select any of the projects in the Project
References table. Click Finish to create your second simple project.