Setting up API Tooling
Configure existing plug-ins
This section explains how to enable your existing plug-ins for API analysis.
- Select the project you want to convert.
- Right-click and select
PDE Tools >
API Tooling Setup...
- Once the
API Tooling Setup wizard is open, check that the project is selected.
- If your project contains a file
component.xml, you can uncheck the checkbox to preserve it after conversion.
- Click Next if you want to preview the changes, or Finish otherwise.
- Your plug-in is now converted to use API tooling.
Configure a new plug-in
This section explains how to enable a new plug-ins for API analysis.
- Click on File>New>Project...
- Select Plug-in Development>Plug-in Project and click Next.
- Fill the first page as you would do for any other plug-in and click Next.
- Check the option
Enable API Analysis.
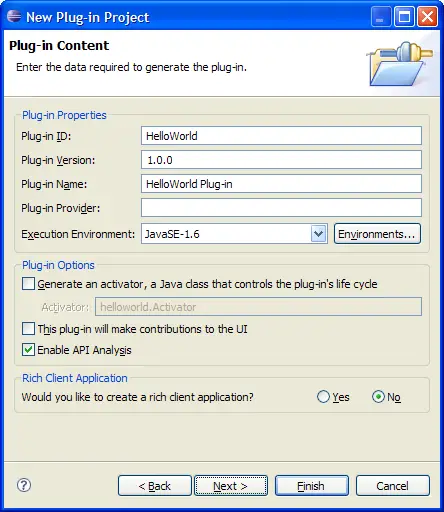
- Complete your Plug-in setup
- Click Finish.

Setting up a baseline

API Tooling Setup Wizard
PDE Tools Menu
API Tooling Setup Command
Defining API Restrictions


