| |
Creating a MIDlet project
In this section, you will create a new MIDlet project in the
Workbench.
- Inside Eclipse select the menu item File >
New > Project.... to open the New Project wizard
-
Select MIDlet Project from the Java
ME group then click Next to start the  New MIDlet Project wizard. New MIDlet Project wizard.
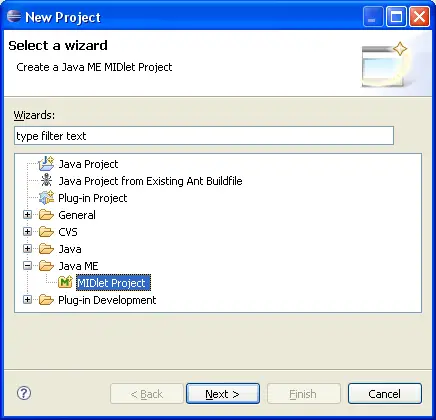
- You will be presented with the New MIDlet Project wizard Page:

-
You must indicate a name and location for the project. In
addition, you may alter the name that will used for the jad file,
generated during the "Create Package" process.This setting can also be
changed later using the Project Properties.
- Add one or more configurations. Configurations will be used
for preprocessing, compiling, running, debugging and packaging the
MIDlet Project. If necessary, you can change this setting later using
the Project Properties or Application Descriptor Editor. For more
information about configurations, refer Configuration Document
- Choose to enable or not the preprocessing support.
Note: You now can either click Finish to create
the project, or click Next to set up project source
settings on the Java Settings page.
-
The Java Settings page is used to adjust source
settings, related projects and libraries, etc. These are standard
Eclipse settings. If your project requires an external library (e.g.
kXML, etc.), add the JAR file(s) to the list on the "Libraries" tab.
MTJ will automatically manage these JAR files along with your compiled
class files.
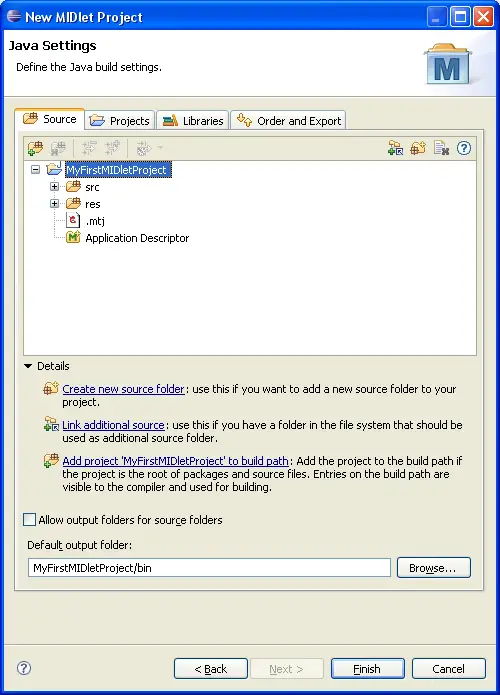
-
To finish the MIDlet Project creation wizard, simply click on
the Finish button and the new project will be created
in your workspace.
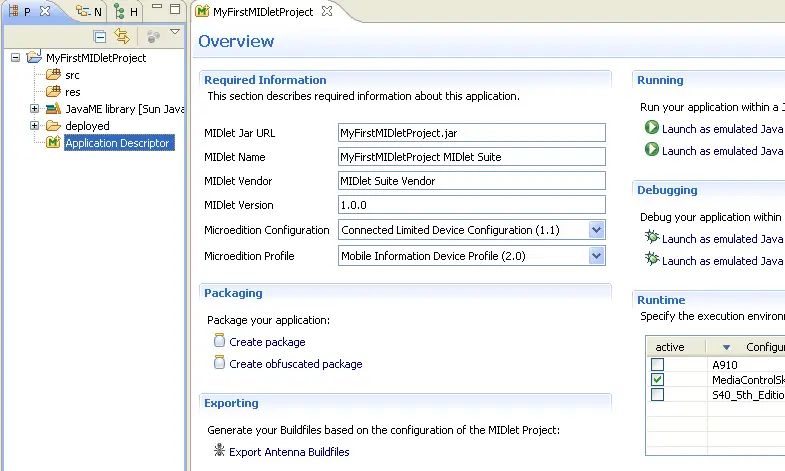
If you have completed the above steps, the Package
Explorer view will now contain the MIDlet project we just created, and
the Application Descriptor editor will be already opened in the Overview
page.
|
|


