-
Click
 Window > Open Perspective > Other... > Java
to change to the Java perspective.
Window > Open Perspective > Other... > Java
to change to the Java perspective.
-
Click
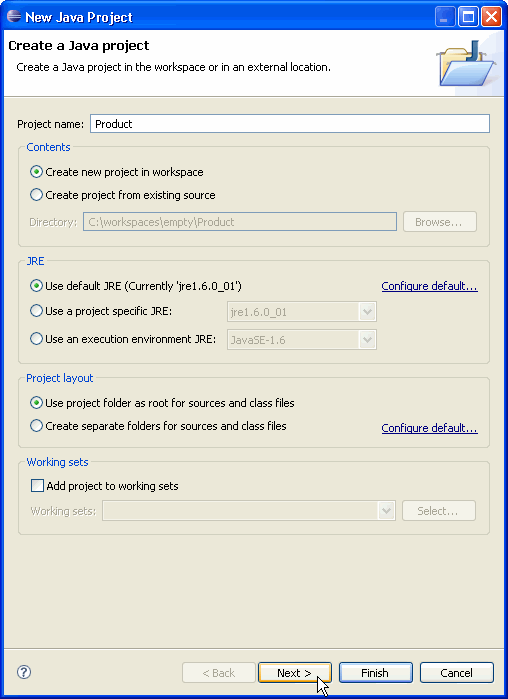
File > New > Other... > Java Project
to open the New Java Project wizard.
-
Type "Product" in the Project name field. Click Next.
-
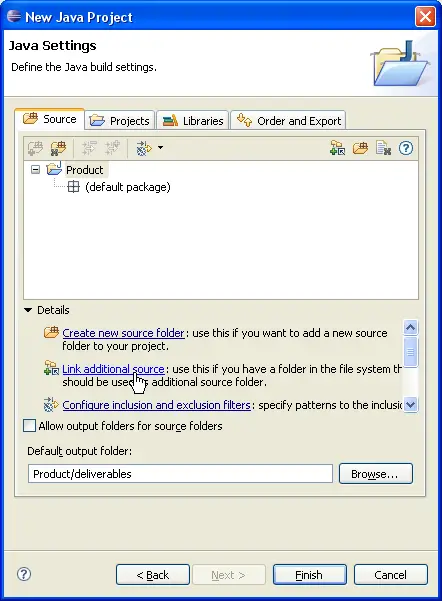
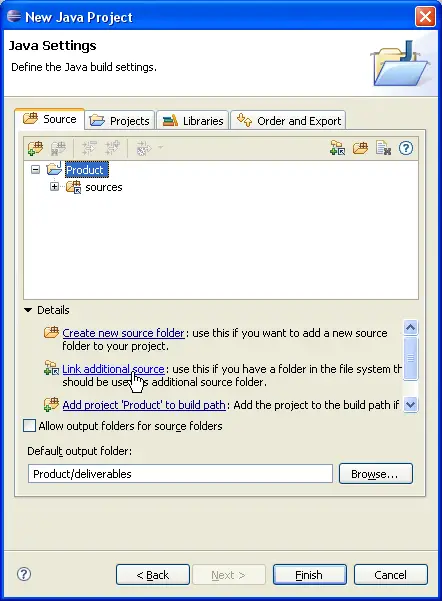
On the next page, Type "Product/deliverables" in Default output folder field.
Select "Product" source folder.
Click Link additional source link in Details pane or button  in view bar.
-
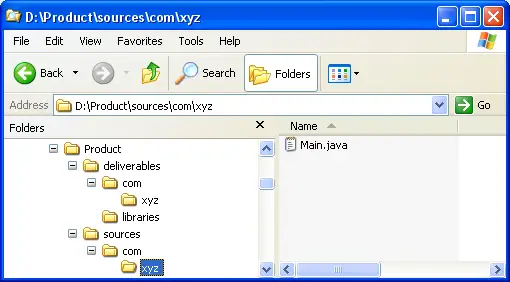
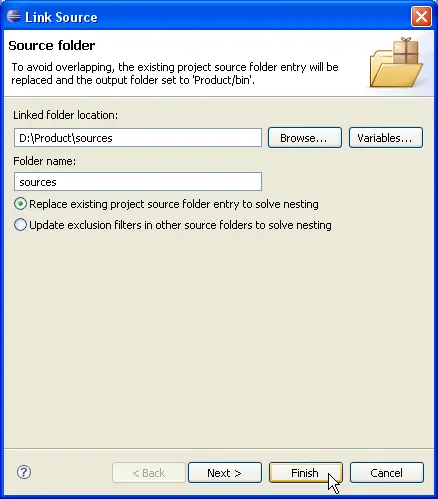
In Link Source click Browse.... and choose the
D:\Product\sources
directory.
-
Click Finish to validate and close the dialog.
-
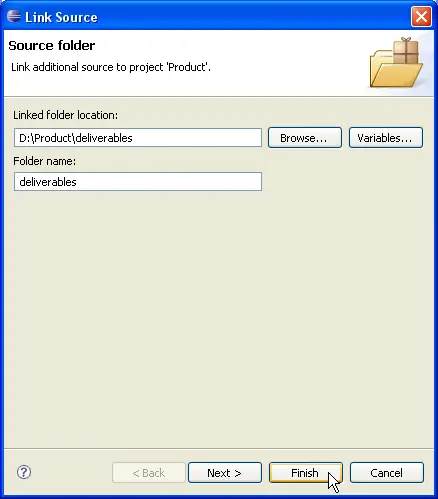
Again, Select "Product" and click Link additional source link in Details pane or button in view bar.
-
In Link Source click Browse.... and choose the
D:\Product\deliverables
directory.
-
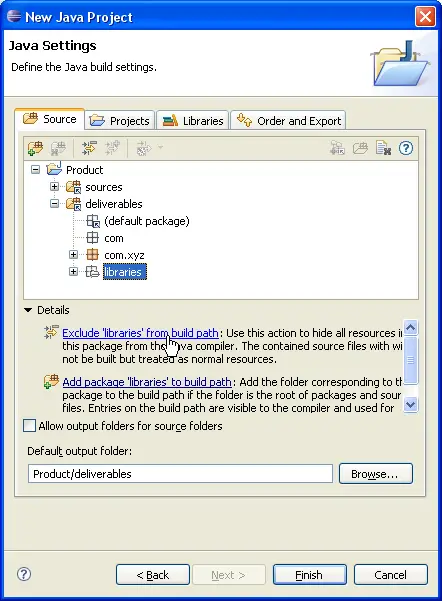
Expand the "Product/deliverables" source folder. Select the "libraries" package
and exclude it from build path using either Exclude 'libraries' from build path link
or Exclude popup-menu item.
-
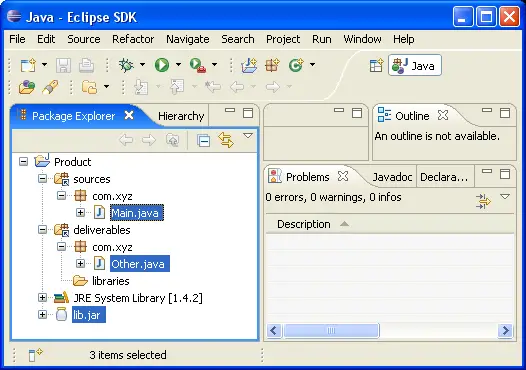
Your project source setup now looks as follows:

-
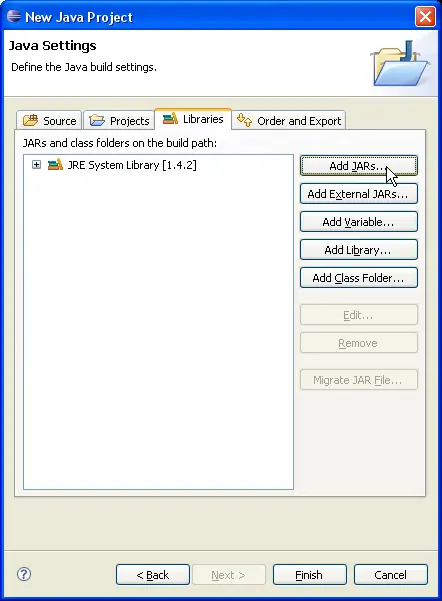
Select Libraries tab.
Click on Add JARs....
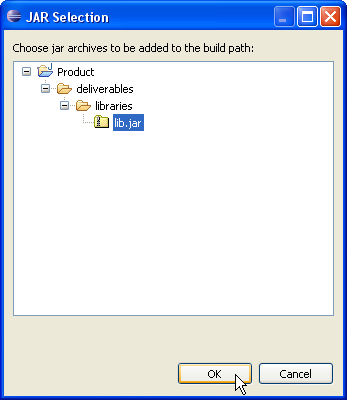
-
Expand "Product" hierarchy to select jar files in "libraries" directory
Click OK.
-
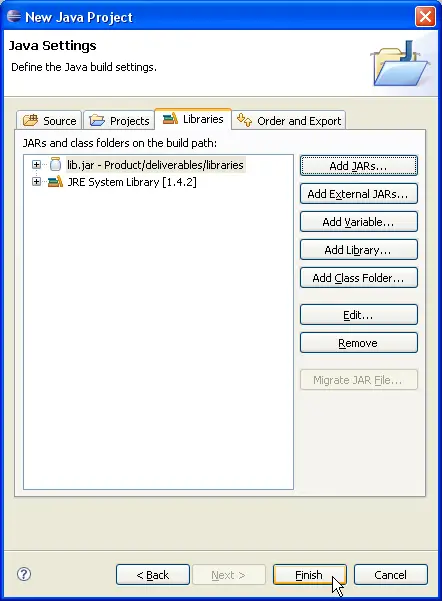
Click Finish to finalize project creation.
-
You now have a Java project with a "sources" folder and an output folder which contains nested library resources.