|
 |
|
| |
Organizing sources
Layout on file system
-
In this section, you will create a new Java project and organize your sources in separate folders. This will
prepare you for handling more complex layouts.
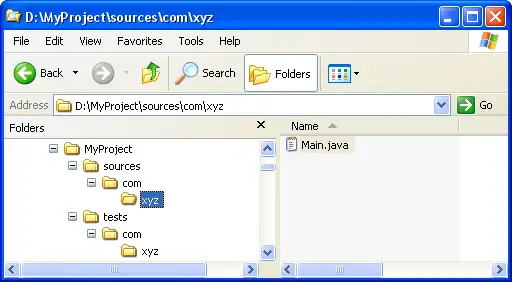
- Let's assume you want to put your sources in one folder and your tests in another folder:
Steps for defining a corresponding project
-
Click
 Window > Open Perspective > Other... > Java
to change to the Java perspective.
Window > Open Perspective > Other... > Java
to change to the Java perspective.
-
Click
File > New > Other... > Java Project
to open the New Java Project wizard.
-
Type "MyProject" in the Project name field.
-
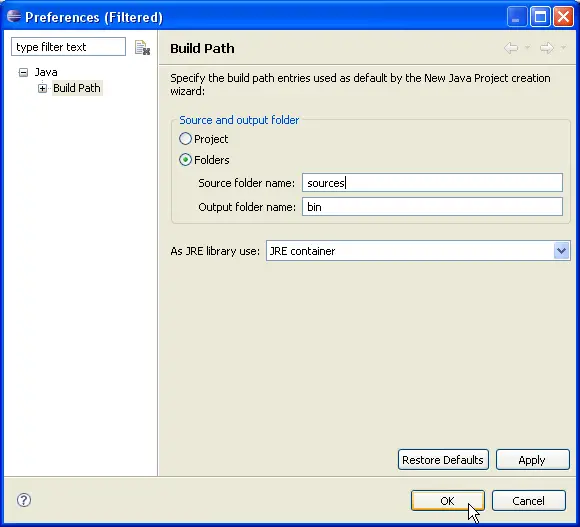
In Project layout group, change selection to Create separate source and output folders
and edit Configure default... to modify Source folder name from "src" to "sources".
-
Click OK to return on New Java Project wizard and then click Next.
-
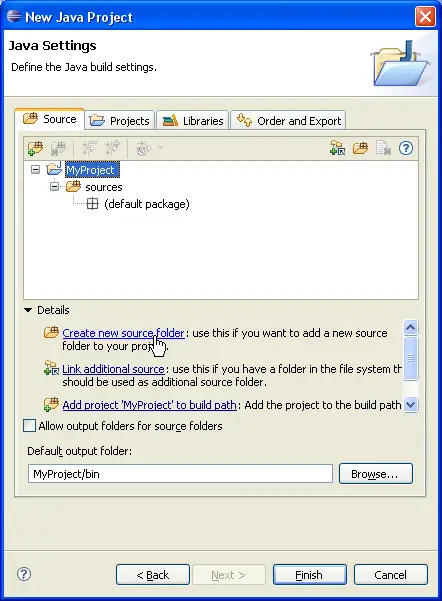
To add another source folder to your project, click Create new source folder link in Details pane
or button  in view bar. in view bar.
-
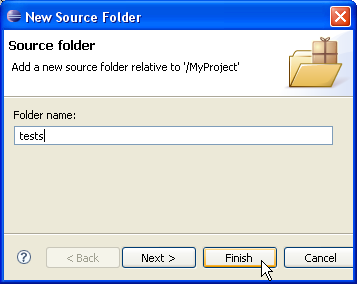
In New Source Folder dialog, type "tests" in the Folder name field.
-
Click Finish to validate and close the dialog.
-
Your project setup now looks as follows:
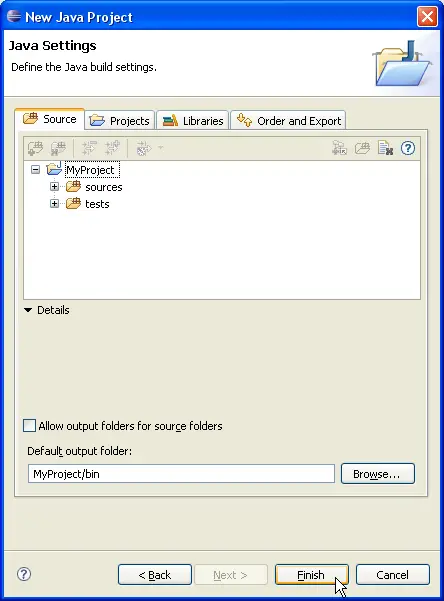
-
Click Finish
-
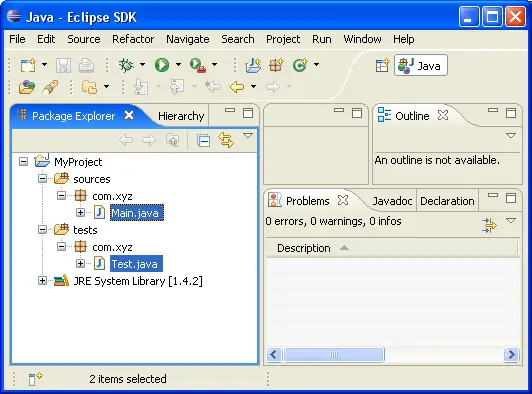
You now have a Java project with two source folders:
sources
and
tests
. You can start adding classes
to these folders or you can copy them using drag and drop.

Java projects
Java views

New Java Project Wizard
Package Explorer View
|
|
|


