So far, you have been checking the report output in the BIRT Report Designer previewer. This time, you use the report viewer to see what the report looks like when it is deployed. The report viewer provides additional functionality, including the capability to navigate to specific sections of a report using a table of contents. When you create groups in a report, BIRT automatically generates a table of contents, using the group values to show the hierarchy of the report.
1
Choose Run→View Report→In Web Viewer. The report appears in the report viewer.
2
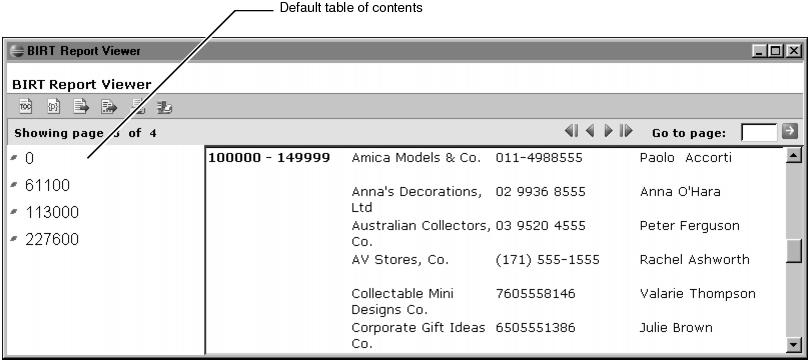
Choose the table of contents button in the toolbar to display the table of contents. The table of contents displays the first value in each of the four credit limit groups. When you select a value, the report displays the corresponding section of the report. If you select 113000, for example, the report shows the customer rows in the 100000 - 149999 credit limit range, as shown in
Figure 8‑30.