14.3. Establishing an ISDN Connection
An ISDN connection is an Internet connection established with a ISDN modem card through a special phone line installed by the phone company. ISDN connections are popular in Europe.
To add an ISDN connection, follow these steps:
-
Click the Devices tab.
-
Click the New button on the toolbar.
-
Select ISDN connection from the Device Type list, and click Forward.
-
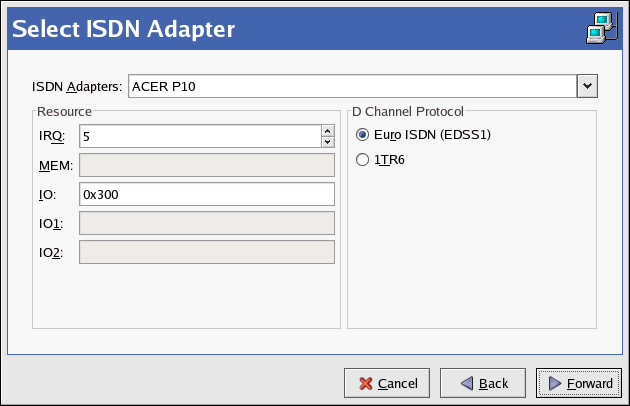
Select the ISDN adapter from the pulldown menu. Then configure the resources and D channel protocol for the adapter. Click Forward to continue.
-
If your Internet Service Provider (ISP) is in the pre-configured list, select it. Otherwise, enter the required information about your ISP account. If you do not know the values, contact your ISP. Click Forward.
-
In the IP Settings window, select the Encapsulation Mode and whether to obtain an IP address automatically or to set a static IP instead. Click Forward when finished.
-
On the Create Dialup Connection page, click Apply.
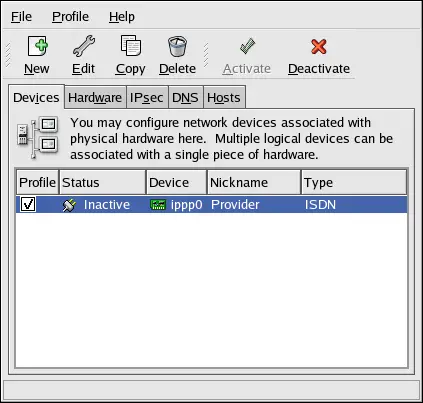
After configuring the ISDN device, it appears in the device list as a device with type ISDN as shown in Figure 14.5, “ISDN Device”.
Be sure to select => to save the changes.
After adding the ISDN device, you can edit its configuration by selecting the device from the device list and clicking Edit. For example, when the device is added, it is configured not to start at boot time by
default. Edit its configuration to modify this setting. Compression, PPP options, login name, password, and more can be changed.
When the device is added, it is not activated immediately, as seen by its Inactive status. To activate the device, select it from the device list, and click the Activate button.
If the system is configured to activate the device when the computer starts (the default), this step does not have to be performed again.